Generate an invoice
Chedar Film Budgeting lets you generate one or multiple invoices for the desired client. The procedure for generating invoice is as follows:
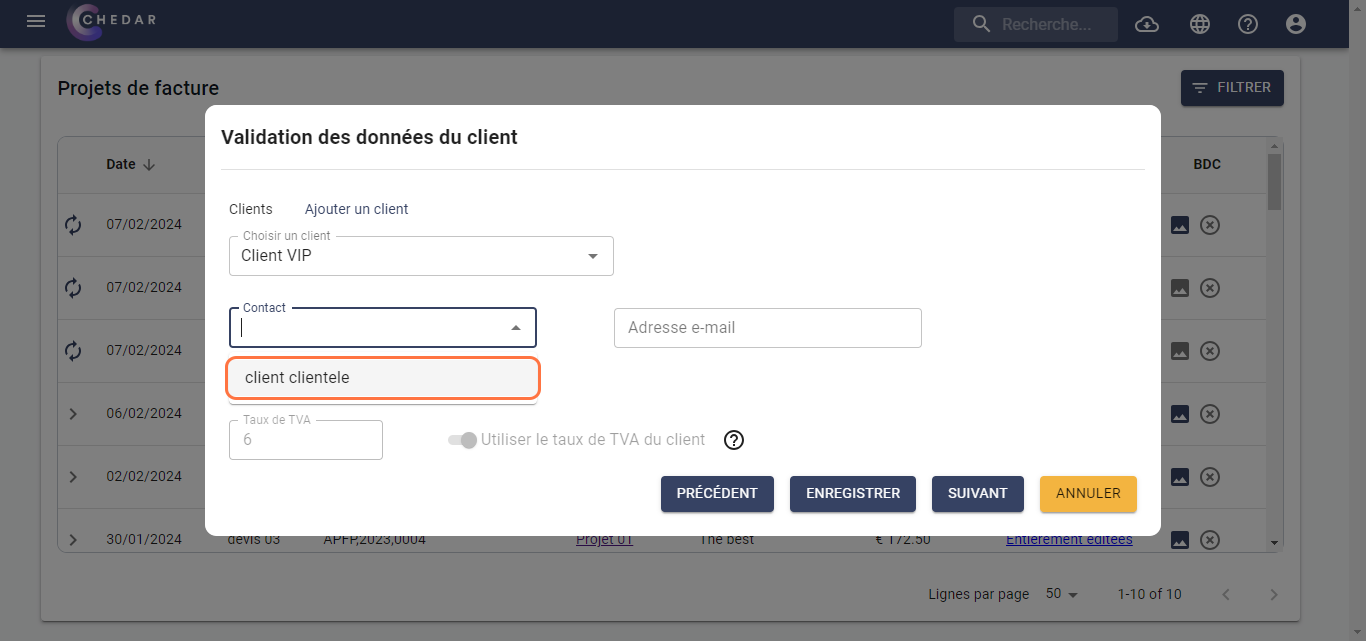
In Proposals section, click Generate next to the quote based on which you want to create an invoice.
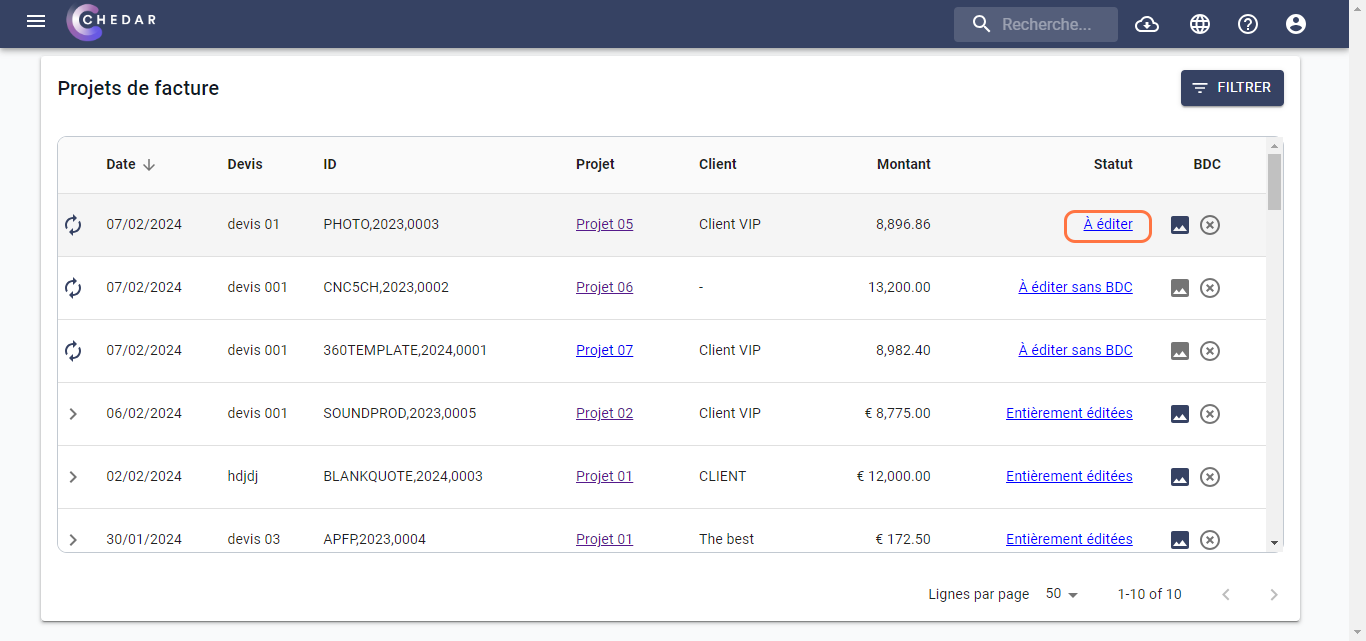
The Generate Invoices dialog displays.
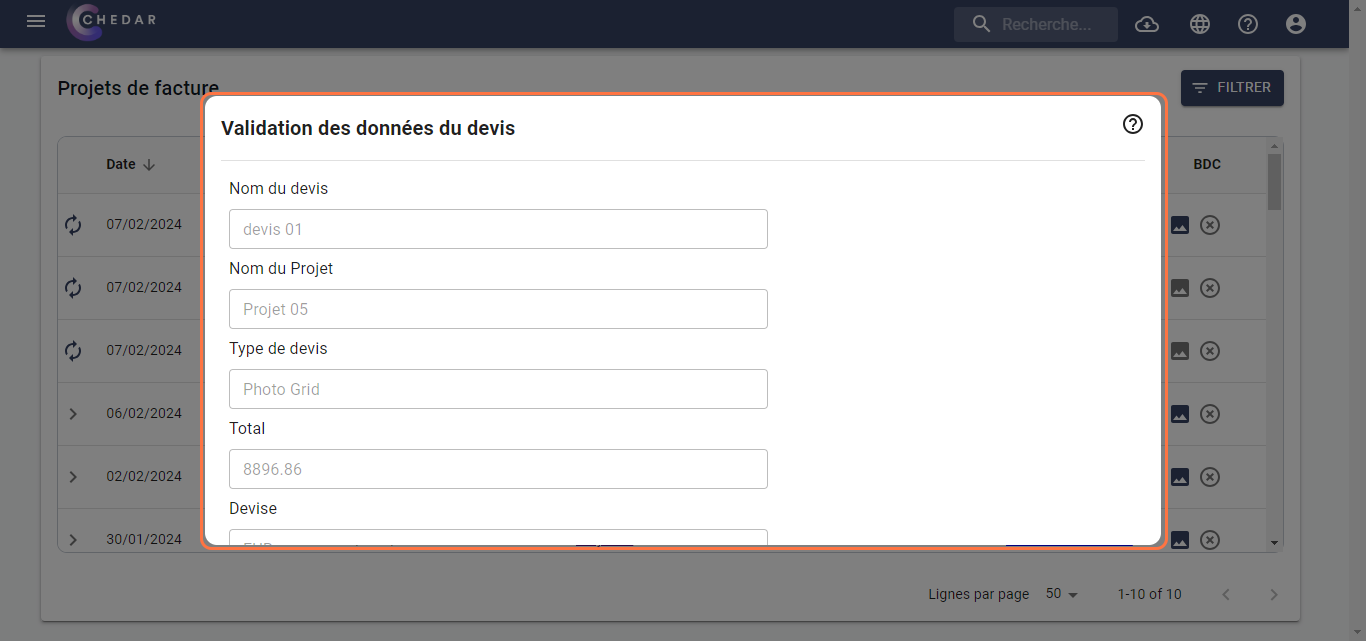
In order to prepare the invoice drafts, you need to first fill the following informations:
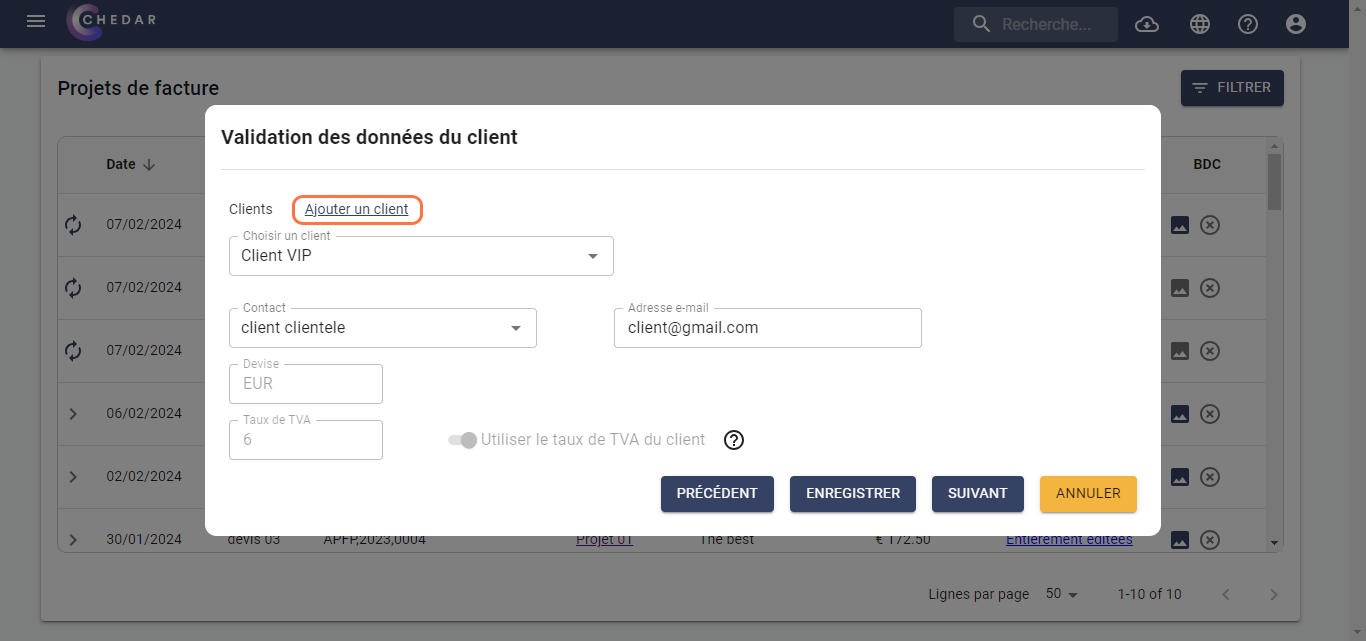
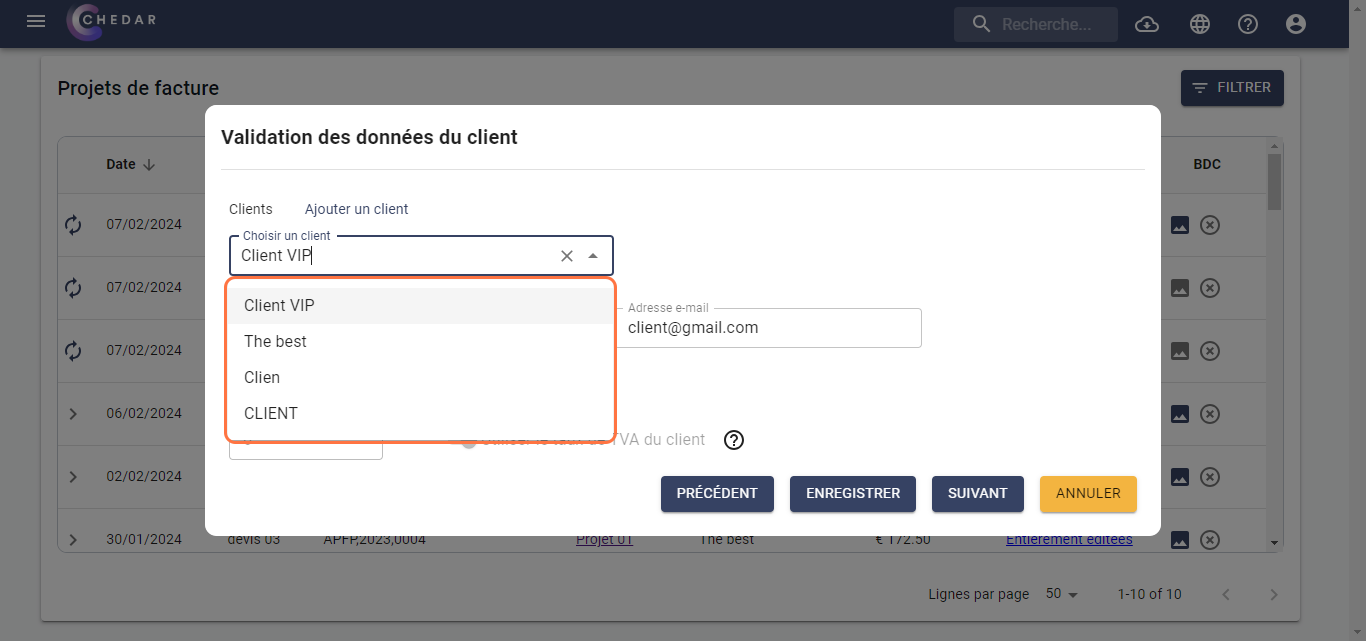
Select Client
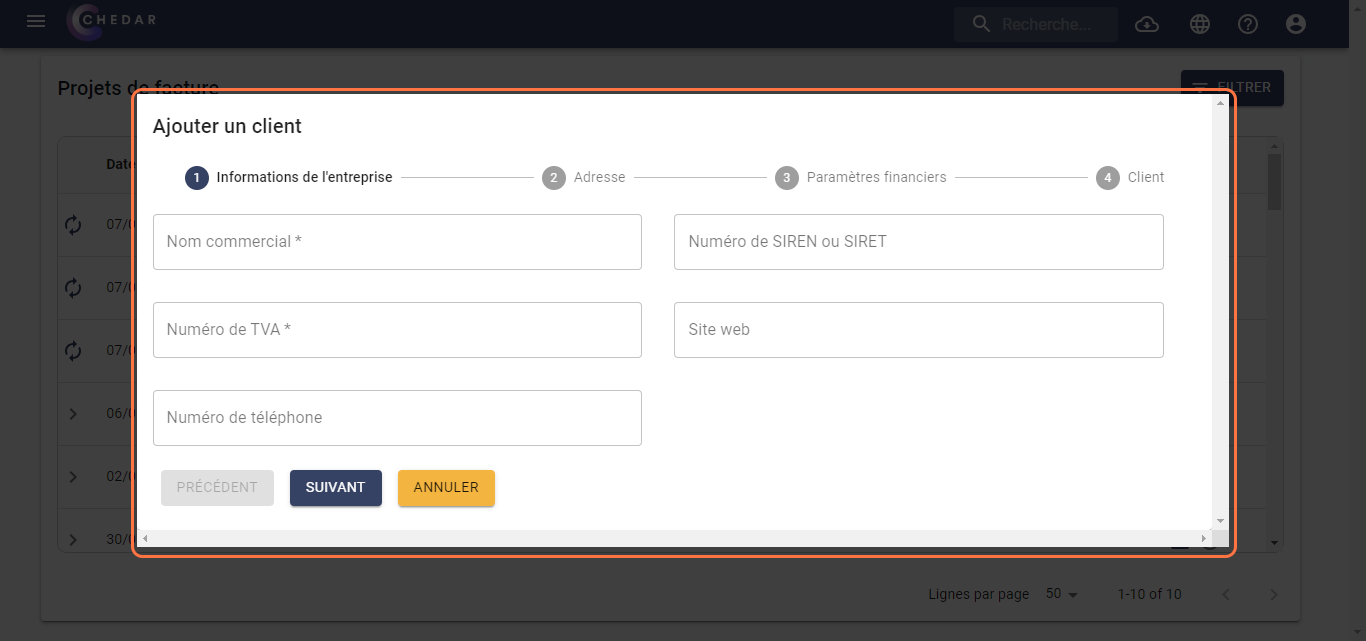
Lets you select a client for which you want to create an invoice. You can select the desired client from the Select Client dropdown. If the desired client is not added yet, you can add it by clicking the Add Client button. For more information on adding a new client, refer to Adding a Contact.
No of Invoices
Specify the number of invoices you want to create for the selected client & project. For example, if you want to bill an advance for the project and then send a second invoice for the balance, insert 2 in the number of invoices field or use the and buttons.
Click Next
The Invoice Parameters dialog displays.
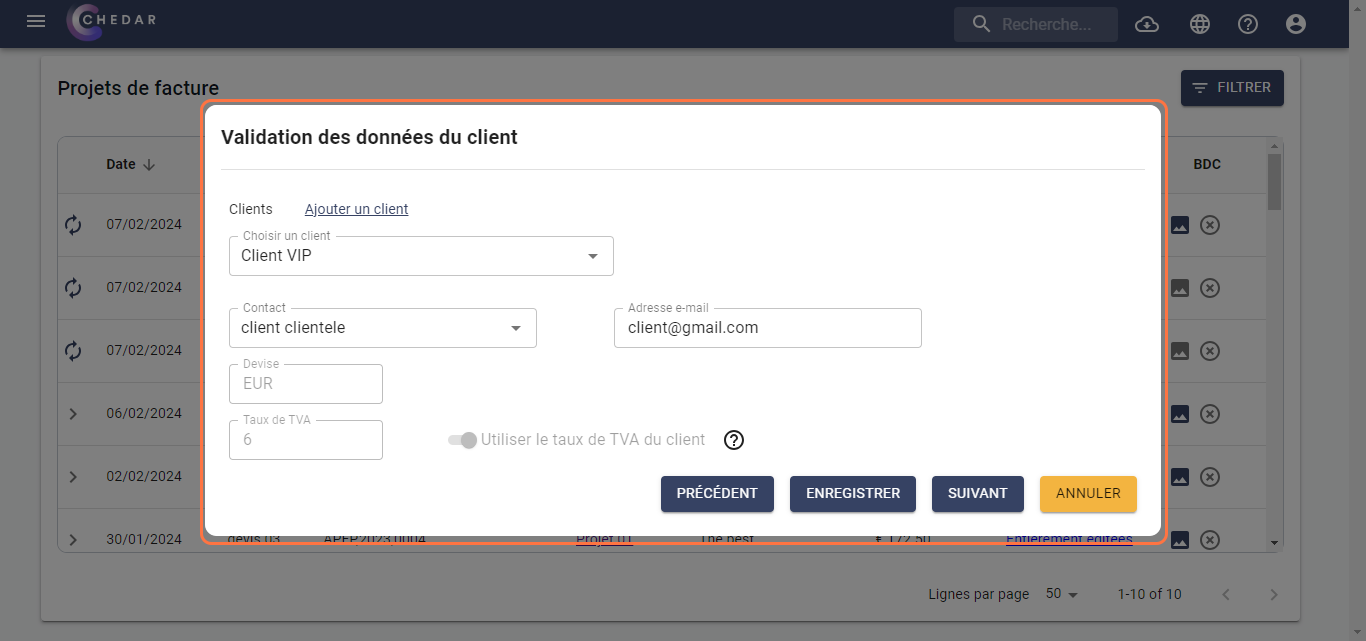
Specify the following Parameters
Breakdown Invoices by Sub-toal or Invoices
You have the option to breakdown the invoices by either sub-total or percentage.
By Percentage:
Selecting this options means you have to specify a percentage value in the Percent field to breakdown the invoices. For example, if you are going to generate 2 invoices and you specify 40 as a Percent value for the 1st voice, then the system will automatically calculate the 40 percent amount for the 1st invoice and the remaining 60 percent amount for the 2nd invoice.
By Amount:
Selecting this option means you have to specify an amount in the Amount field to breakdown the invoices. For example, if you are going to generate 2 invoices and the total amount of the project is $5,000. Now if you specify a $2,000 amount for the 1st invoice, then the system will automatically calculate and assign the remaining $3,000 to the 2nd invoice.
PO number
You can enter the reference PO number if your client issued one.
Percent
Lets you specify the amount percentage to breakdown the invoices. This option is enabled only if you select By Percentage above.
Amount
Lets you specify the exact amount to breakdown the invoices. This option is enabled only if you select By Amount above.
Invoice Date
Lets you specify the date from which the invoice will be applicable. You have to specify this date for each invoice.
Due Date
Lets you specify the date upto which the invoice will be valid through. You have to specify the due date for each invoice.
Preview
Lets you take a preview of the selected invoice. When you click Preview, a PDF preview of the selected invoice generates.
Please note that the Invoice Number is automatically generated once the invoice is marked as ready
Also note that the Draft Watermark will be removed once the invoice is marked as ready
Take the time to review your invoice draft and make necessary changes to how your client's name is appearing or the description of each invoice
Once satisfied with the modifications, you can Mark the invoice as Ready.
After checking the Mark as Ready, you can generate the invoice.
Click Generate
Clicking the generate button will lead to two actions: Your invoice will now appear in your Invoice module and will remove the draft watermark
Once the invoice is generated, the system prompts you to confirm the downloading of the generated invoice.
Click Yes if you wish to download the invoice
Please note that you can always download the invoice at a later stage (see below)
The invoice is downloaded on your system as a pdf
